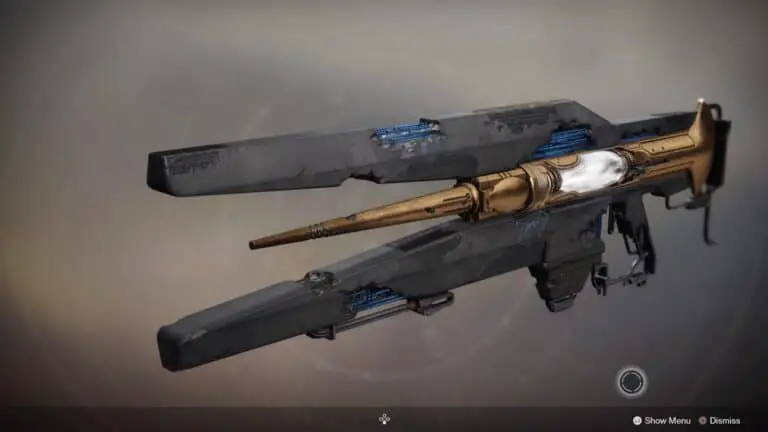
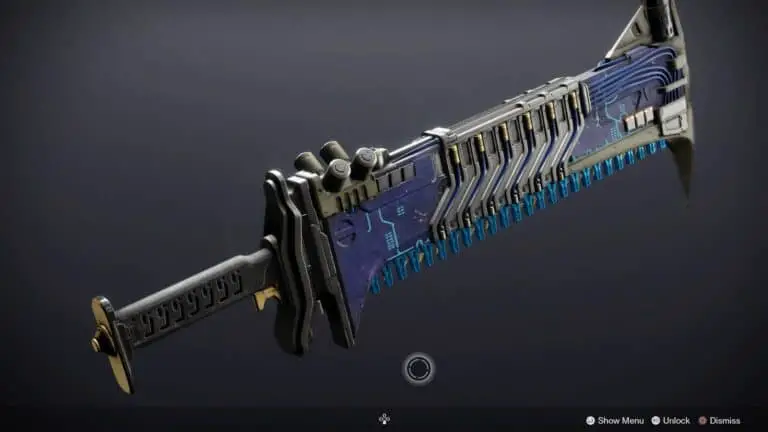
Destiny 2 Xenophage Quest | How to get Xenophage Exotic Machine Gun
Destiny 2 Xenophage Exotic quest is for those who have bought the Shadowkeep expansion.
Beginning this exotic quest works somewhat differently from most missions, so you may require some tips on where to look.
The Xenophage quest is much shorter, unlike other Exotic quests, and almost all the steps can be done solo, until the step where you have to dive into the Pit of Heresy dungeon.
How to get Destiny 2 Xenophage Quick Guide
- Interact with the four statues in the Enduring Abyss near the Pyramid to start the quest;
- Light the six lantern plates in Anchor of Light;
- Complete the four puzzles at the end of K1 Lost Sectors on the Moon;
- Find the hidden symbol within the Pit of Heresy dungeon;
- Find the hidden orb in the Pit of Heresy dungeon to open the secret room;
- Defeat the hidden boss, Volmar, the Tempted;
- Return to Eris.
How to Start the Xenophage Quest
To start the Xenophage quest you need to go to the moon’s destination. Then you need to head to Sorrow’s Harbour and go to the upper part of this area until you reach the gates of the keep (the big entrance to the tower).
- Once you get there, go straight and then follow the path to the left;
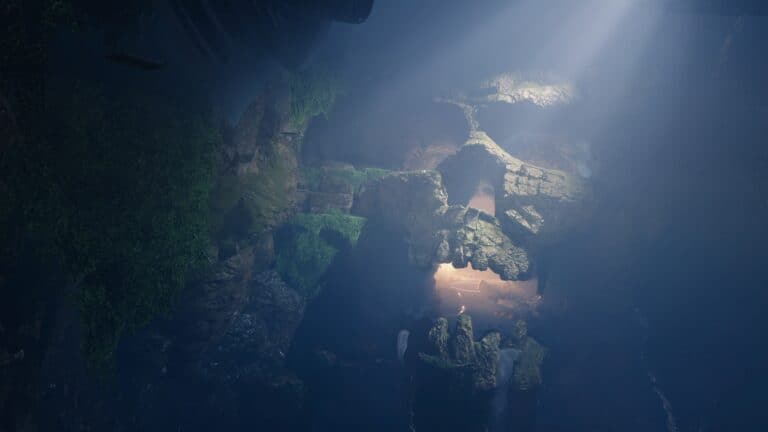
- Continue until you reach the Enduring Abyss area;
- Then go a little deeper into the cave until you see a big lantern;
- Just behind the lantern to the right and up, there’s a path, take it;
- Go straight until you reach the platform facing the pyramid.
Once you reach the platform facing the pyramid, to start the quest you need to interact with the four statues, two on the right and two on the left side.
The objective is to light up the four statues.
To do so, start to interact with the statues in this order:
- The statue closest to the entrance on the right side;
- Then the far-right statue;
- Then the far left statue;
- And finally the close left statue.
Once you’ve entered the correct code, a new chest will appear, open the chest and you will receive the Xenophage quest, The Journey.
Step 1: Emergence
In the first step of the Xenophage quest, you have to travel to the Anchor of Light.
From that point, you’ll have to locate an orb of light and use it to light up six hidden lecterns around the zone.
The first lectern to activate is right next to the orb of light spawn, you have to pick up the orb and go to the lectern with it.
You will have to light the lecterns in a specific order, and once you light the first one, you will have 60 seconds to make it to the next lectern.
The 60 seconds timer will reset each time you light another lectern.
You can see the location of the orb of light and the locations and in what order you need to light up the lecterns in the video below:
After you light each of the six lecterns, you’ll get a message that says “You are ready to emerge from the dark”.
Once you see that message, you’ll get an objective marker that leads you to the final location in this step.
Deposit the orb of light in where the waypoint indicates you to, and then you will get to the next step in the Xenophage quest.
Step 2: Pathfinder
In this step of the quest, you must collect fragments from each Lost Sectors on the moon.
To get all the fragments you will have to complete the Lost sectors like you typically would, but once you reach the end you will find a puzzle in the wall near the exit of each Lost Sector.
The puzzles have a lot of symbols and you will have to shoot them until you make them all match to receive the fragment.
There are multiple solutions to the puzzles, but these ones below mentioned should work for you:
K1 Communion (Anchor of Light)
- Bottom left
- Bottom right
- Centre top
- Centre top
K1 Logistics (Archer’s Line)
- Top left
- Bottom left
- Centre right
- Centre
K1 Revelation (Sorrow’s Harbour)
- Centre right
- Centre left
- Centre
- Centre
- Centre left
- Centre top
- Centre bottom
- Centre
K1 Crew Quarters (Hellmouth)
- Top right
- Centre left
- Centre
- Centre bottom
- Centre right
- Centre right
- Centre bottom
- Centre bottom
When you get that done and got all the fragments, you will then receive the Descent quest, with the Path Uncovered step.
Step 3: Descent (Path Uncovered)
For the following part of the quest, you’ll have to head into the Pit of Heresy dungeon. To get access to the dungeon you need to talk to Eris and complete the questline for it.
To complete this step you will have to find a hidden symbol in the dungeon.
To find the symbol do as follows:
- Complete the first encounter;
- Proceed until you face a wall of doors;
- Go to an upper left door.
The door you need to go to is different from the others, and you will find the symbol inside. You can see the video guide from Fuzzy Bearbarian below to see the location and how to get to the door:
Step 4: Discovery
Once you have completed the “Path Uncovered” step, continue through the dungeon until you reach the second encounter.
When you reach the second encounter, go all the way to the left along the edge, drop down to the lower path, and find a plate on the floor.
Activate that plate and it will reveal some platforms, in the last platform, it will be an orb that you must get.
You will have to take that orb to the far right corridor, which has a wall with some doors, you will then have to place the orb on both sides of one of those doors.
Once you have done that the hidden room will open and inside will be the secret boss.
You can see the video guide from WoW Quests below to see the location of the orb and the hidden room:
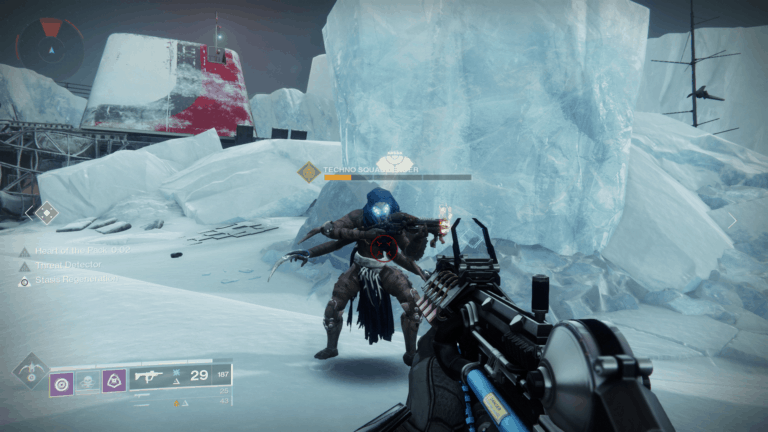
Step 5: Slay Volmâr, the Tempted
To defeat Volmâr, the Tempted, you will need to grab orbs and dunk them in areas identified with the buff you have been given.
You may want to investigate the room before, to see where the locations are.
Just before the boss, there is a room with four elemental orbs, one in each corner, and each orb is marked by a Hive rune.
That information is for you to know according to the buff that you have, where you need to place the orb.
Throughout the fight, you will receive four buffs:
- Thunderous Dread (Arc)
- Abyssal Dread (Void)
- Fiery Dread (Solar)
- Neutral Dread (Kinetic)
When you have a Dread active, you will need to get the orb that is in the center of the boss room and place it in the corresponding corner of the room.
You can see below where to place the orb according to your dread type (front is next to the entrance):
- Thunderous Dread: bottom level, front left corner
- Abyssal Dread: top-level, back-left corner
- Fiery Dread: bottom level, back right corner
- Neutral Dread: top-level, front-right corner
When you place the orb in the correct spot, the Dread will turn into a Vengeance buff that lasts around 25 seconds.
The vengeance buff allows you to damage the boss, but only using the damage type of your buff, that means that if you turn Fiery Dread into Fiery Vengeance, you will only be able to damage the boss using fire weapons and abilities.
You can see below Esoterickk defeating the boss solo:
Step 6: Finality
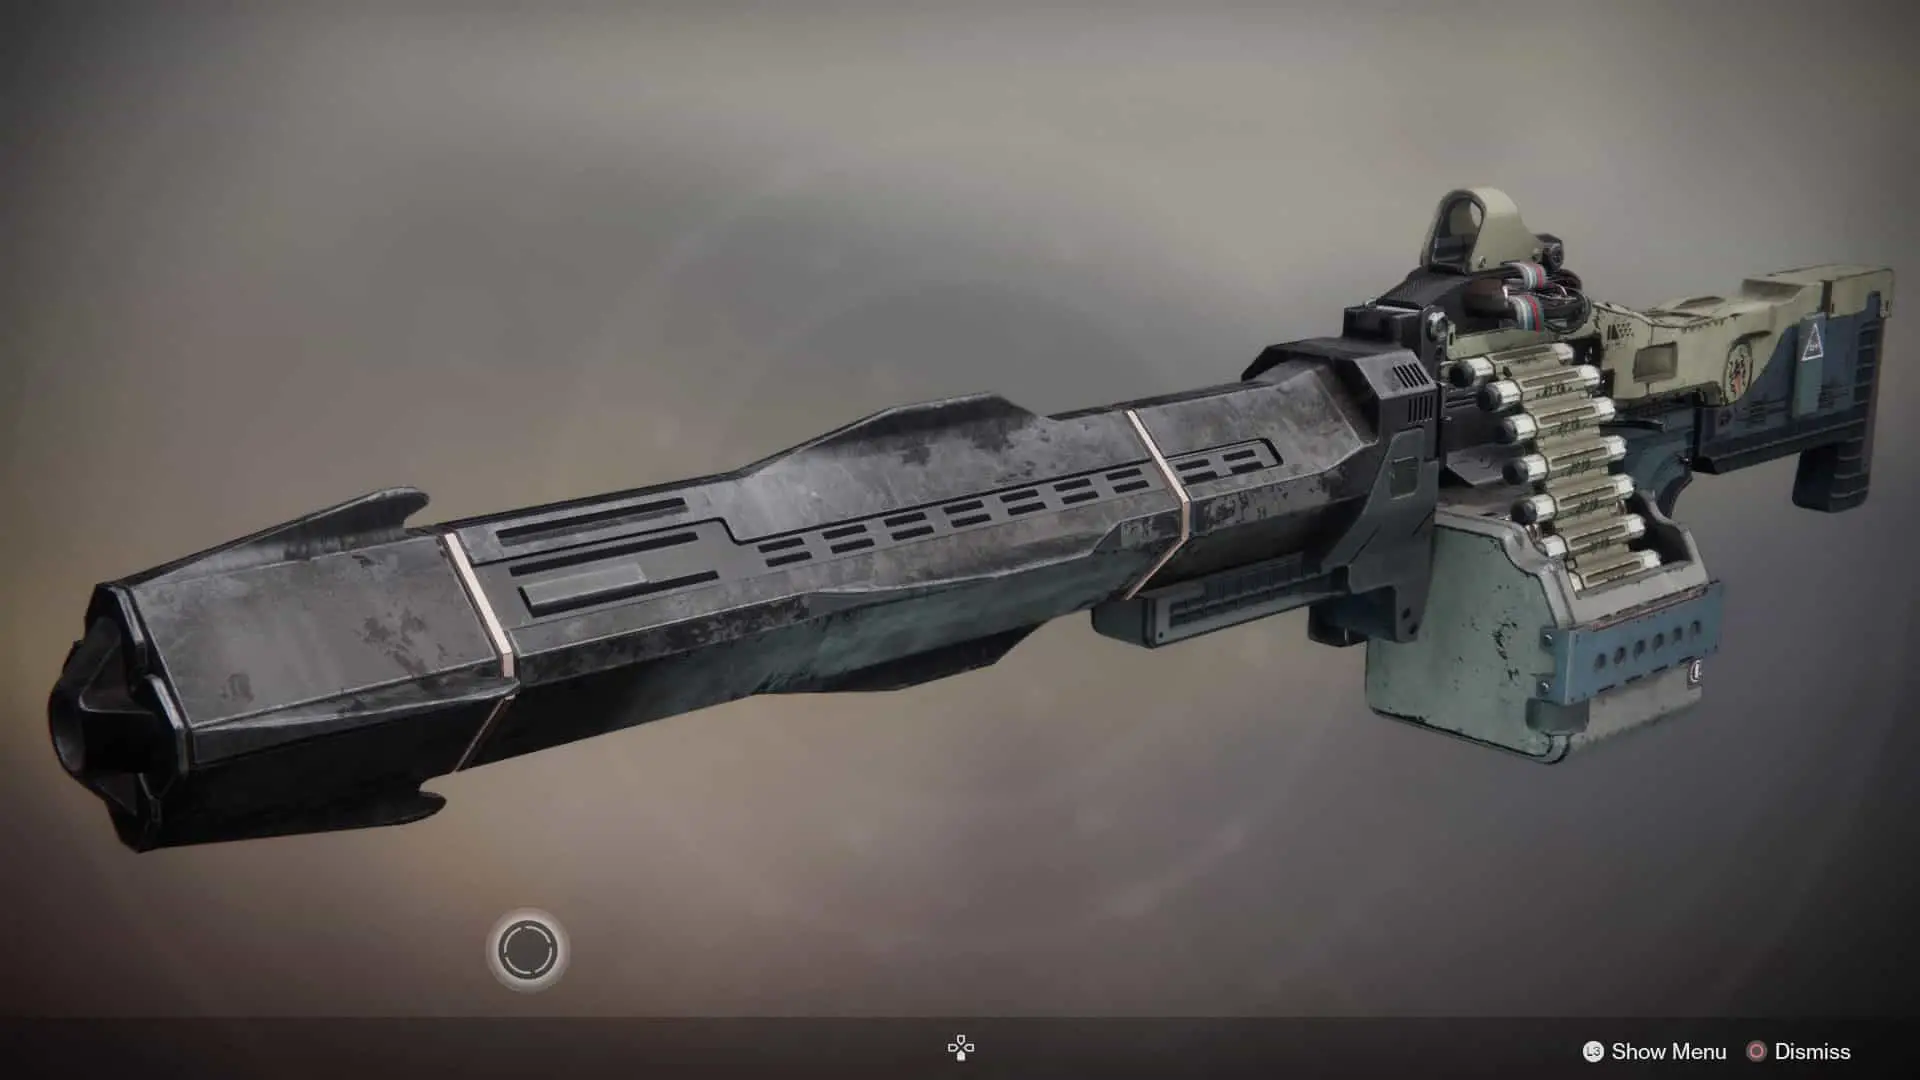
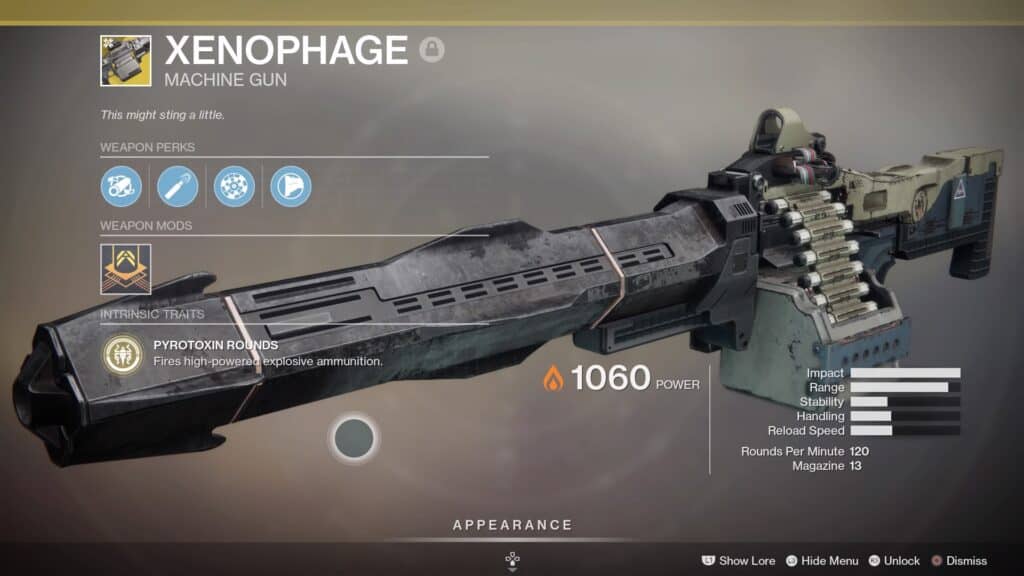
Once the boss is defeated, you will receive a Hive bug, then return to Eris on the moon and you will receive the Xenophage Exotic Machine Gun.
You don’t need to complete the Pit of Heresy dungeon, so if you get stuck in the second encounter, at least you have done everything needed for the Xenophage Exotic quest!
You can see all the Exotics List here!